Integrate authentication into Flutter Web
This guide shows how to create a simple Flutter application and secure it with authentication powered by Ory. The guide provides the setup for using Ory Network, but the code can be used with both Ory Network and self-hosted Ory software.
This guide is perfect for you if:
- You have Flutter installed.
- You want to build an app using Flutter.
- You want to give access to your application to signed-in users only.
Before you start, watch this video to see the user flow you're going to implement:
You can find the code of the sample application here.
Create Flutter Web app
Run this command to create a basic Flutter application:
flutter create myapp
cd myapp
Add dio and flutter dotenv to your
pubspec.yaml file.
We use dio for HTTP request and flutter dotenv for environment variable management.
name: flutter_web_redirect
description: A Flutter Web App integrated with Ory.

publish_to: "none"

version: 1.0.0+1

environment:
  sdk: ">=3.0.6 <4.0.0"
dependencies:
  flutter:
    sdk: flutter
  cupertino_icons: ^1.0.5
  dio: ^5.3.2
  flutter_dotenv: ^5.1.0
  ory_client: ^1.1.41
  universal_html: ^2.2.3

dev_dependencies:
  flutter_test:
    sdk: flutter
  flutter_lints: ^2.0.2

flutter:
  uses-material-design: true
  # Load our env file from the root directory
  assets:
    - env
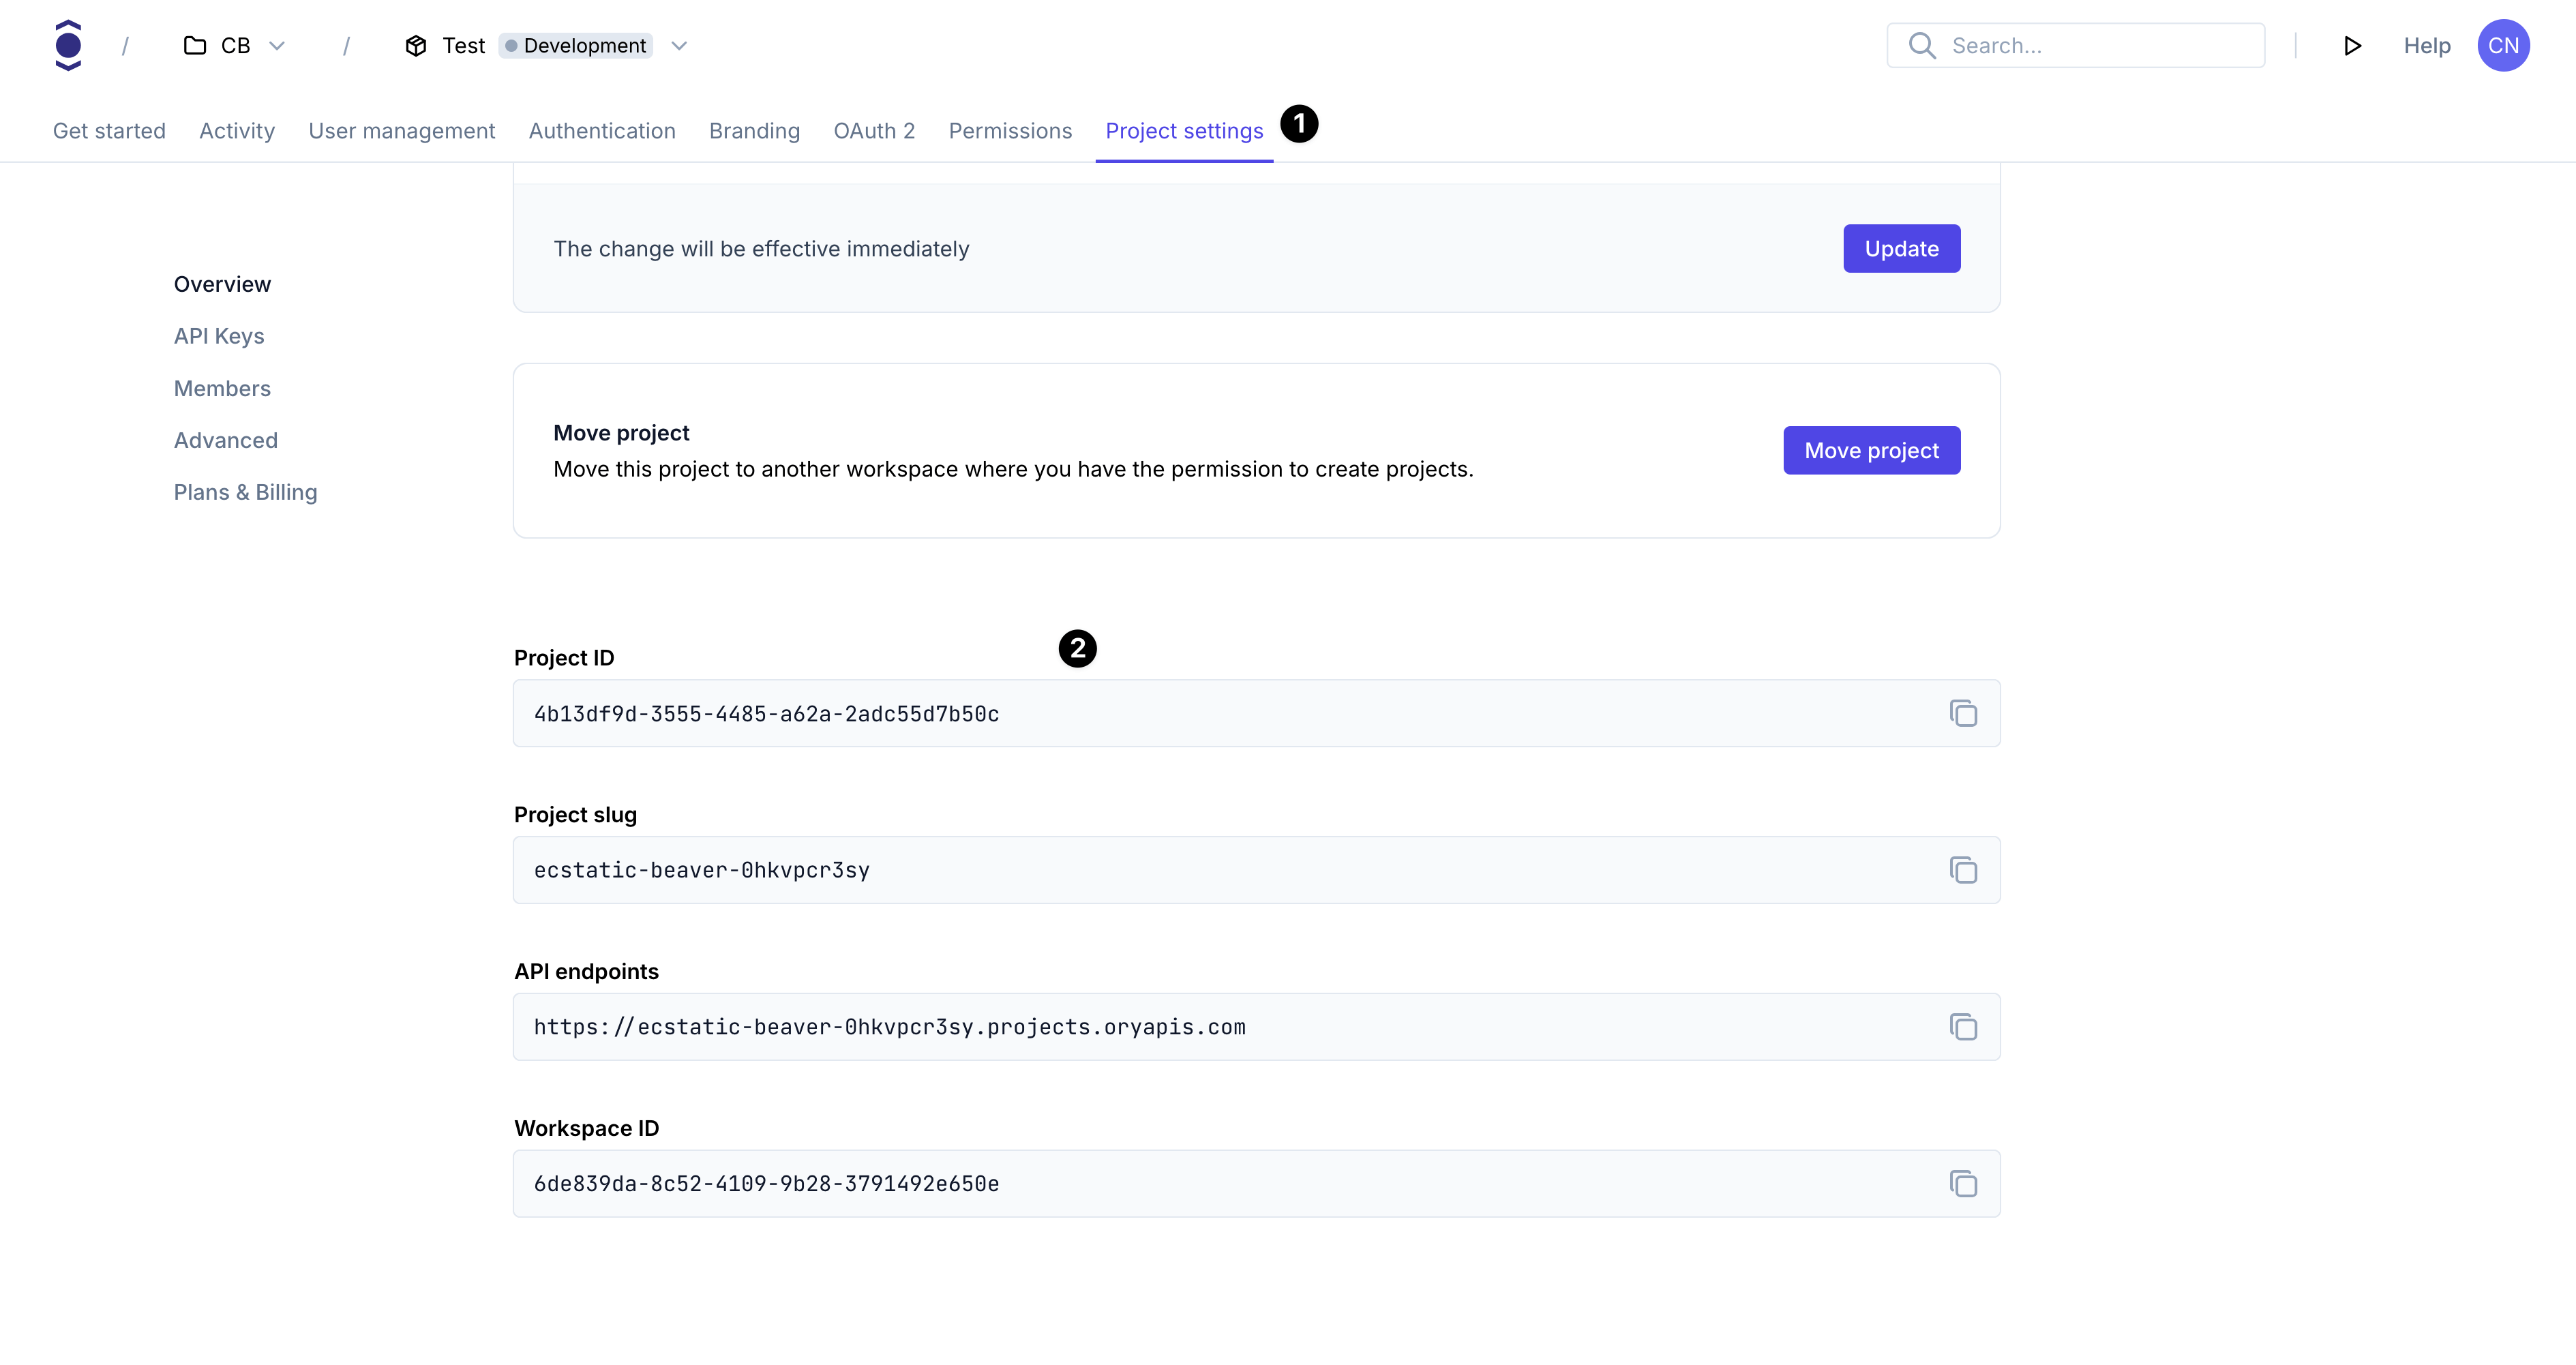
Create a new Ory project
- Create an Ory account at https://console.ory.sh
- Create a new project at https://console.ory.sh/projects/create
- Go to your project settings
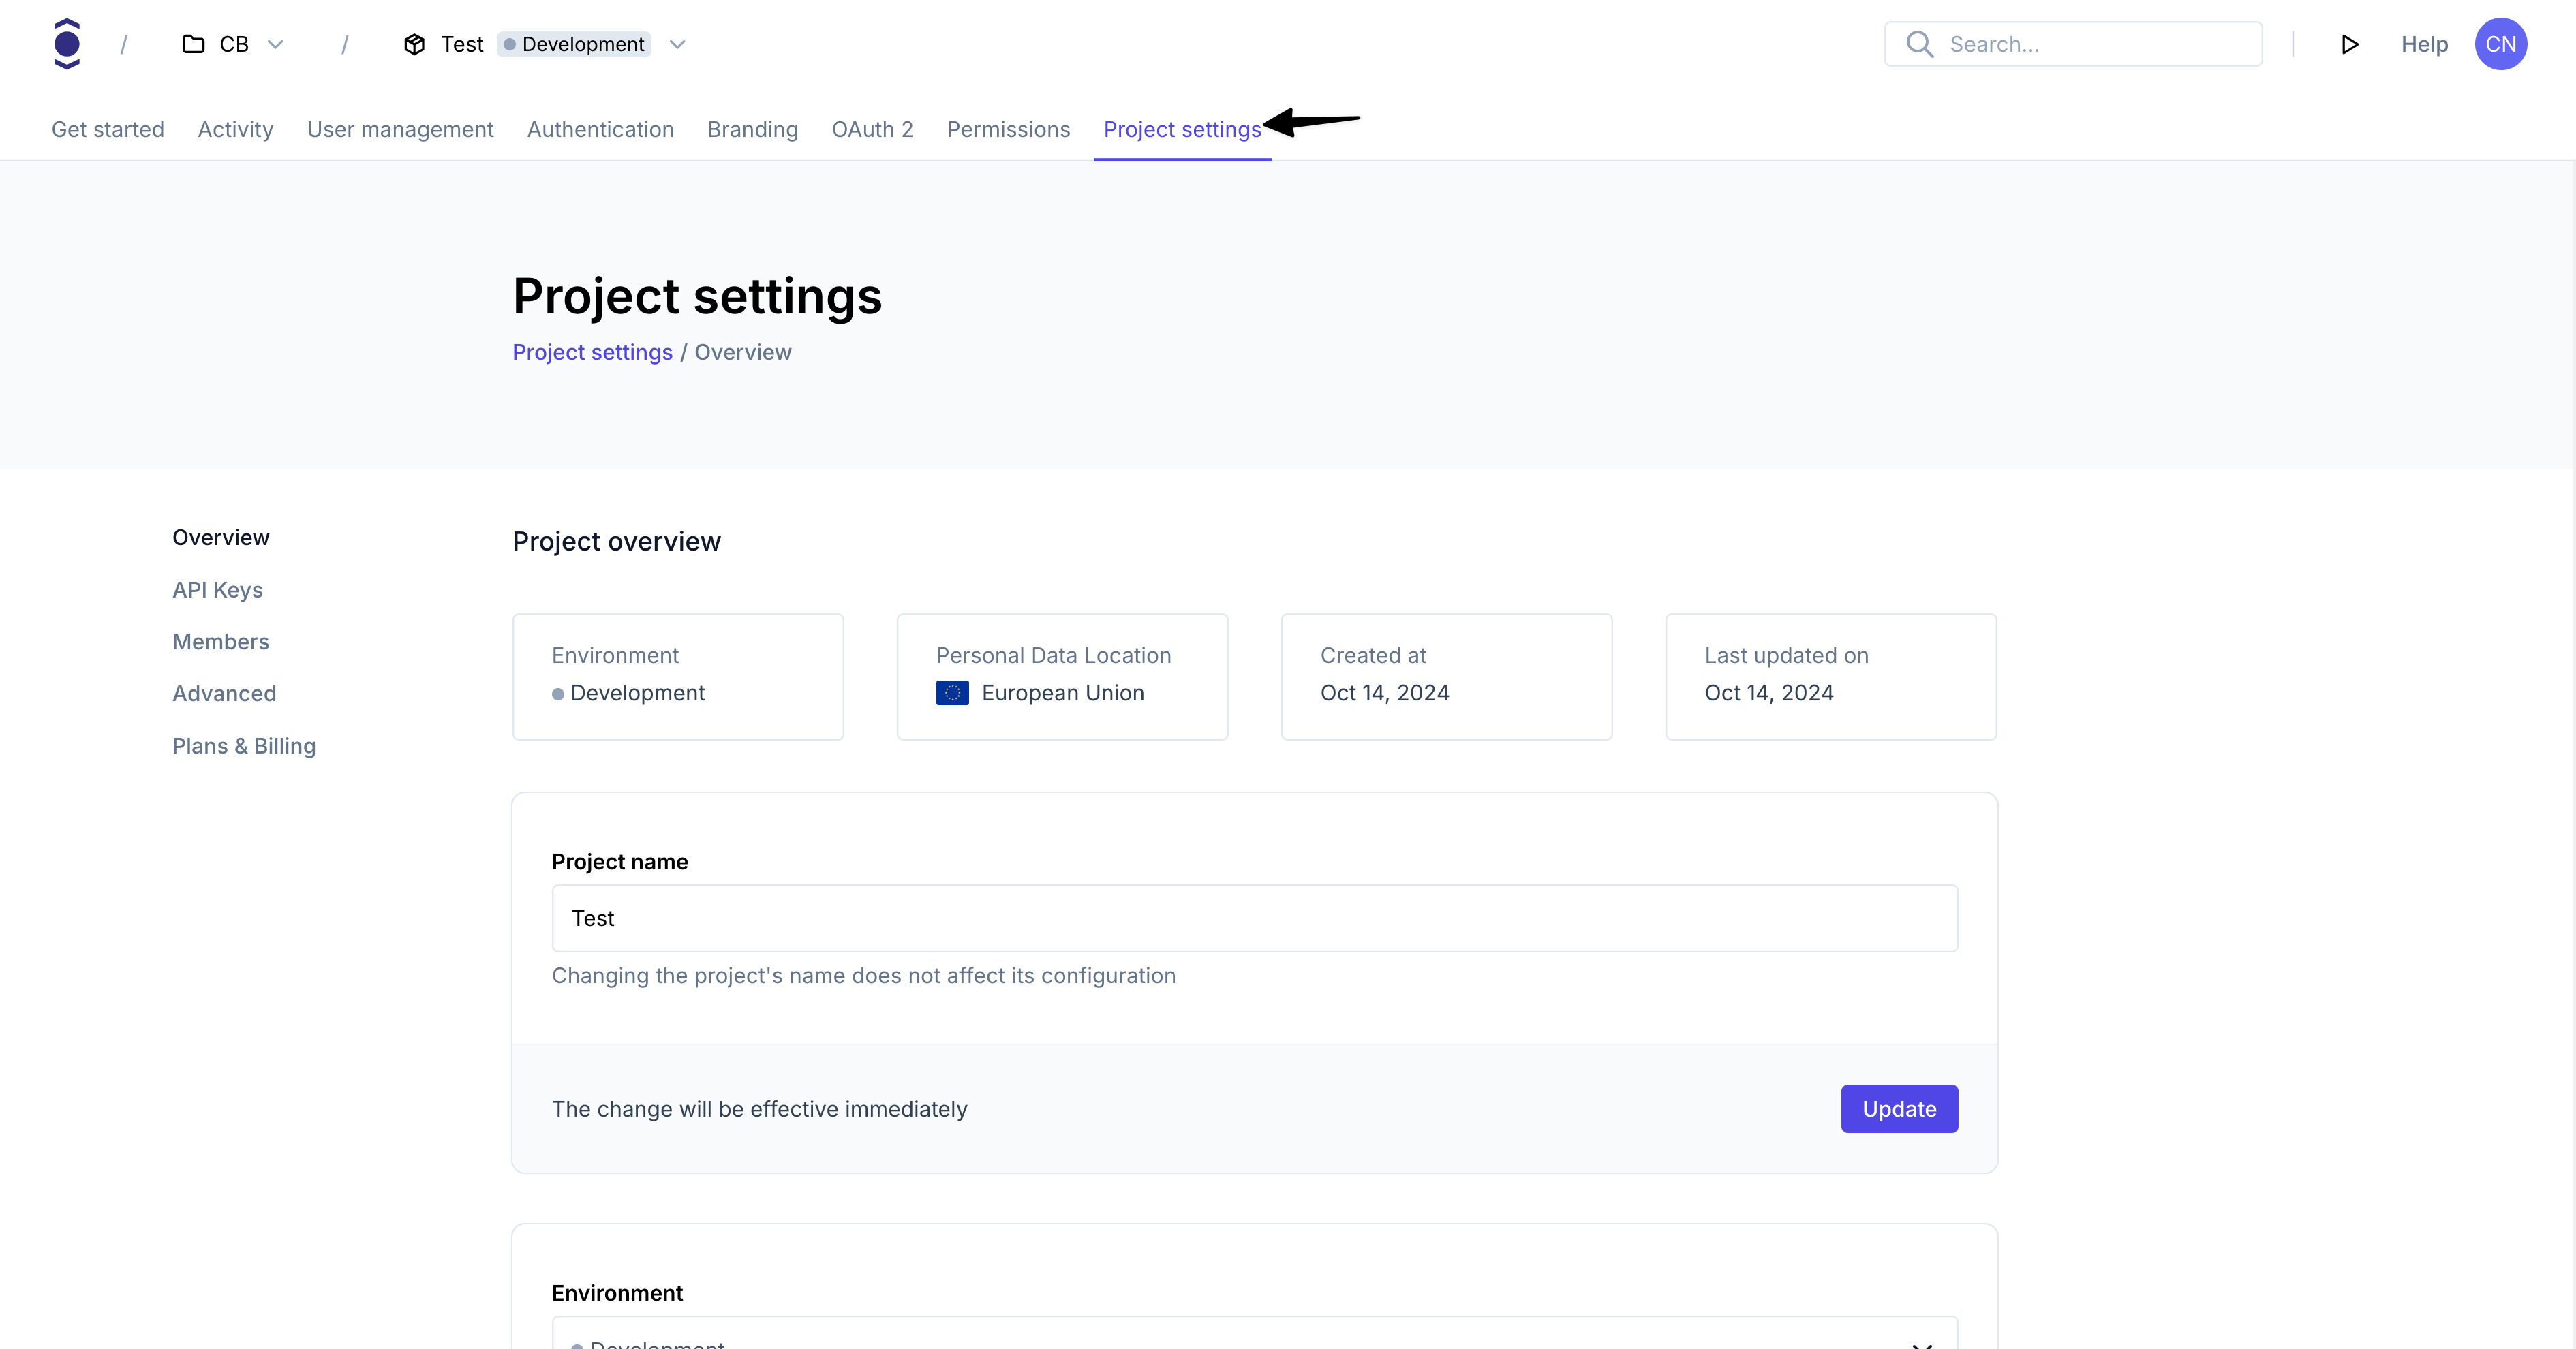
- Note down your project credentials (ID, slug, endpoint)
Install Ory CLI
Follow this guide to install the Ory CLI on your machine.
Why do I need the Ory CLI
The Ory security model uses HTTP cookies to manage sessions, tokens, and cookies. Because of browser security measures like
CORS, Ory APIs must be exposed on the same domain as your application.
In the case of this example the application runs on your local machine. The cookie domain is localhost.
Use either localhost or 127.0.0.1 consistently. Although technically they refer to the same machine, browsers treat them as
different cookie domains.
Ory CLI provides a convenient way to configure and manage projects. Additionally, the CLI provides Ory Tunnel - a tool that ensures cookies match the domain your application is currently on.
To make Ory APIs and your application available on the same domain, Ory Tunnel mirrors Ory endpoints and rewrites cookies to match
the correct domain. As a result, the domain of the cookies is set correctly to the domain you run the app on instead of
<your-project-slug>.projects.oryapis.com.
By using the Tunnel, you can easily connect the application you're developing locally to Ory Network and consume the APIs without additional configuration or self-hosting any Ory services.
To learn more about the Ory Tunnel, read the dedicated section of the Ory CLI documentation.
Create the authentication service
Next, create an Authentication service in the lib/services directory. This service will be used to query the Ory APIs for
session information.
mkdir lib/services && touch lib/services/auth.dart
import 'package:universal_html/html.dart';

import 'package:dio/dio.dart';
import 'package:ory_client/ory_client.dart';

class AuthService {
  final FrontendApi _ory;
  Session? _identity;

  AuthService(Dio dio) : _ory = OryClient(dio: dio).getFrontendApi();

  Future<bool> isAuthenticated() async {
    return _ory.toSession().then((resp) {
      if (resp.statusCode == 200) {
        _identity = resp.data;
        return true;
      }
      return false;
    }).catchError((error) {
      return false;
    });
  }

  Future logout() async {
    return _ory.createBrowserLogoutFlow().then((resp) {
      return _ory.updateLogoutFlow(token: resp.data!.logoutToken).then((resp) {
        window.location.reload();
      });
    });
  }

  get identity => _identity;
}
Add environment variables
Create a .env file in the root of the project to hold the ORY_BASE_URL variable. The value of the variable is the Ory Tunnel
URL, for example http://localhost:3005.
touch .env
ORY_BASE_URL=http://localhost:3005
Update lib/main.dart
Finally, update the lib/main.dart file to check for a session cookie on the initial load of the application. If the cookie is
found, the user can access the application. If the cookie isn't found, the user is redirected to the login page.
import 'package:universal_html/html.dart';
import 'package:dio/browser.dart';
import 'package:dio/dio.dart';
import 'package:flutter/material.dart';
import 'package:flutter_dotenv/flutter_dotenv.dart';
import 'package:flutter_web_redirect/services/auth.dart';
Future main() async {
// load the env file
await dotenv.load(fileName: "env");
final baseUrl = dotenv.get("ORY_BASE_URL").toString();
// create the dio client for http requests
final options = BaseOptions(
baseUrl: baseUrl,
connectTimeout: const Duration(seconds: 10000),
receiveTimeout: const Duration(seconds: 5000),
headers: {
"Accept": "application/json",
},
validateStatus: (status) {
// here we prevent the request from throwing an error when the status code is less than 500 (internal server error)
return status! < 500;
},
);
final dio = DioForBrowser(options);
final adapter = BrowserHttpClientAdapter();
// enable cookies support
// we need this so we can send HTTP requests to the server with the cookies stored in the browser
adapter.withCredentials = true;
dio.httpClientAdapter = adapter;
final auth = AuthService(dio);
if (!(await auth.isAuthenticated())) {
_launchURL(baseUrl);
return;
}
runApp(MyApp(dio: dio, auth: auth));
}
void _launchURL(String url) async {
window.open("$url/self-service/login/browser", '_self');
}
class MyApp extends StatelessWidget {
final Dio dio;
final AuthService auth;
const MyApp({Key? key, required this.dio, required this.auth})
: super(key: key);
// This widget is the root of your application.
Widget build(BuildContext context) {
return MaterialApp(
title: 'Flutter Demo',
theme: ThemeData(
primarySwatch: Colors.blue,
),
home: MyHomePage(title: 'Ory ❤ Flutter Web', auth: auth),
);
}
}
class MyHomePage extends StatefulWidget {
const MyHomePage({Key? key, required this.title, required this.auth})
: super(key: key);
// This widget is the home page of your application. It is stateful, meaning
// that it has a State object (defined below) that contains fields that affect
// how it looks.
// This class is the configuration for the state. It holds the values (in this
// case the title) provided by the parent (in this case the App widget) and
// used by the build method of the State. Fields in a Widget subclass are
// always marked "final".
final String title;
final AuthService auth;
State<MyHomePage> createState() => _MyHomePageState();
}
class _MyHomePageState extends State<MyHomePage> {
Widget build(BuildContext context) {
// The Flutter framework has been optimized to make rerunning build methods
// fast, so that you can just rebuild anything that needs updating rather
// than having to individually change instances of widgets.
return Scaffold(
appBar: AppBar(
// Here we take the value from the MyHomePage object that was created by
// the App.build method, and use it to set our appbar title.
title: Text(widget.title),
),
body: Center(
// Center is a layout widget. It takes a single child and positions it
// in the middle of the parent.
child: Column(
// Column is also a layout widget. It takes a list of children and
// arranges them vertically. By default, it sizes itself to fit its
// children horizontally, and tries to be as tall as its parent.
//
// Invoke "debug painting" (press "p" in the console, choose the
// "Toggle Debug Paint" action from the Flutter Inspector in Android
// Studio, or the "Toggle Debug Paint" command in Visual Studio Code)
// to see the wireframe for each widget.
//
// Column has various properties to control how it sizes itself and
// how it positions its children. Here we use mainAxisAlignment to
// center the children vertically; the main axis here is the vertical
// axis because Columns are vertical (the cross axis would be
// horizontal).
mainAxisAlignment: MainAxisAlignment.center,
children: <Widget>[
Text('Session Information:${widget.auth.identity.toString()}'),
TextButton(
onPressed: widget.auth.logout, child: const Text('Logout')),
],
),
),
);
}
}
Test your application
Run the following steps to get your application running:
- Start your flutter web server
flutter run -d web-server --web-port 3000
- Export the SDK configuration URL for the desired Ory project. You can use the provided playground project for testing, or export the SDK URL of your own project.
- macOS
- Linux
- Windows CMD
- Windows Powershell
- Self-Hosted Ory Kratos
# This is a public Ory Network Project.
# Don’t submit any personally identifiable information in requests made with this project.
# Sign up to Ory Network at
#
#   https://console.ory.sh/registration
#
# and create a free Ory Network Project to see your own configuration embedded in code samples.
export ORY_SDK_URL=https://$PROJECT_SLUG.projects.oryapis.com
# This is a public Ory Network Project.
# Don’t submit any personally identifiable information in requests made with this project.
# Sign up to Ory Network at
#
#   https://console.ory.sh/registration
#
# and create a free Ory Network Project to see your own configuration embedded in code samples.
set ORY_SDK_URL=https://$PROJECT_SLUG.projects.oryapis.com
# This is a public Ory Network Project.
# Don’t submit any personally identifiable information in requests made with this project.
# Sign up to Ory Network at
#
#   https://console.ory.sh/registration
#
# and create a free Ory Network Project to see your own configuration embedded in code samples.
$Env:ORY_SDK_URL = "https://$PROJECT_SLUG.projects.oryapis.com"
Clone and run Ory Kratos locally
git clone --depth 1 --branch master https://github.com/ory/kratos.git
cd kratos
git checkout master
git pull -ff
docker-compose -f quickstart.yml -f contrib/quickstart/kratos/cloud/quickstart.yml up --build --force-recreate -d
and set the environment variable to the exposed port:
export ORY_SDK_URL=http://localhost:4433
- Run the Ory tunnel to expose Ory API under the same top-level domain as your application (
localhost). Upon first start, the Ory Tunnel will ask you to log into your Ory Console account.
ory tunnel --port 4000 http://localhost:3000
- Open http://localhost:3000 to access the application. As the initial call is made by an
unauthenticated user, the session check doesn't detect a valid session and redirects to the login page of the defined Ory
project.
From there, you can create a new account or sign in using an existing identity. When you sign in, the session becomes valid and the application shows theHomepage with the session data.
Go to production
You can use many different approaches to go to production with your application. You can deploy it on Kubernetes, AWS, a VM, a
RaspberryPi - the choice is yours! To connect the application to your Ory project, the app and Ory APIs must be available under
the same common domain, for example https://ory.example.com and https://www.example.com.
You can easily connect Ory to your subdomain. To do that, add a Custom Domain to your Ory Network project.
With the custom domain set up, you don't need to use Ory Tunnel to interact with Ory APIs. Instead, use the configured custom domain in your SDK calls.
Release build
With the flutter cli we can build a release version of our App by running the command below:
flutter build web
We then need an HTTP server to serve the files, we will use dhttpd.
dhttpd --host localhost --port 4005 --path build/web
Follow this link to learn more about Flutter Web applications in production.